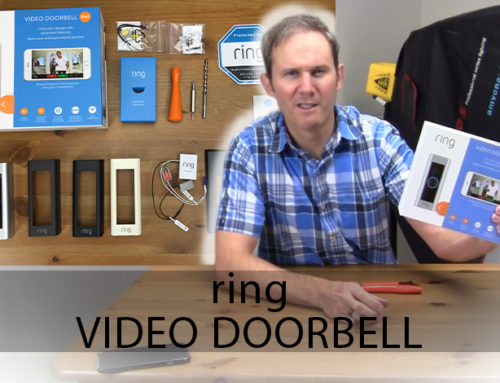
Hey Guys, today we are doing the physical install of the Wi-Fi ring video doorbell Pro.
This is a follow-up presentation of my unboxing video. Today, I’ll be venturing outdoors in the cold to install this HD video doorbell next to my front door. This process involves 2 major steps:
Auto Amazon Links: No products found.
Since the placement of my old doorbell is on a 90-degree angle to my door, I will use this angled bracket to point the camera towards the approach area of my door, instead of towards my neighbor’s yard. The bracket is a high quality zinc and not cheap plastic like some which are available out there. Each wedge is 20 degrees and can be placed one on the other to reach 40 degrees.
Overall the physical install was pretty easy. I did have to purchase longer screws to get the wedges installed, due to the deep grout between my rocks. The two 20-degree angle adapters positioned my camera perfectly providing a good look at the door itself and the approach area to my home. So far, I’m impressed with the quality of the product. I wish it was wired to my network and powered over ethernet but once we get the app installed we’ll test for lag. I’ll be setting up the app and playing with the motion detection feature in a future video, so please subscribe to see this when it’s released.
Auto Amazon Links: No products found.