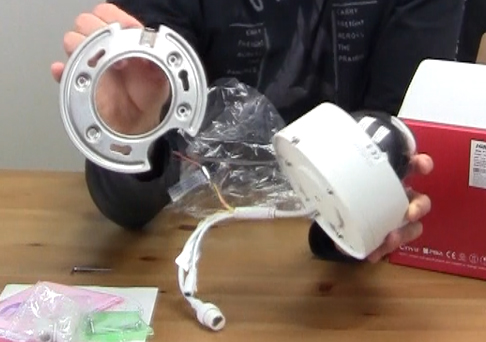
I am very excited to be presenting this security camera today. This is a step above all the other cameras and more of a profession grade. The camera I will be unboxing, setting up and reviewing is called a mini ptz camera DS-2DE3304W-DE from Hikvision. It’s a big and heavy camera but it’s a compact version of the larger ptz camera’s offered by Hikvision. PTZ or (pan tilt zoom) means the camera can mechanically move back and forth, up and down and zoom in and out.
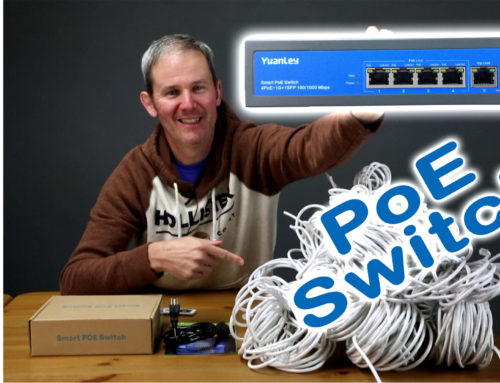
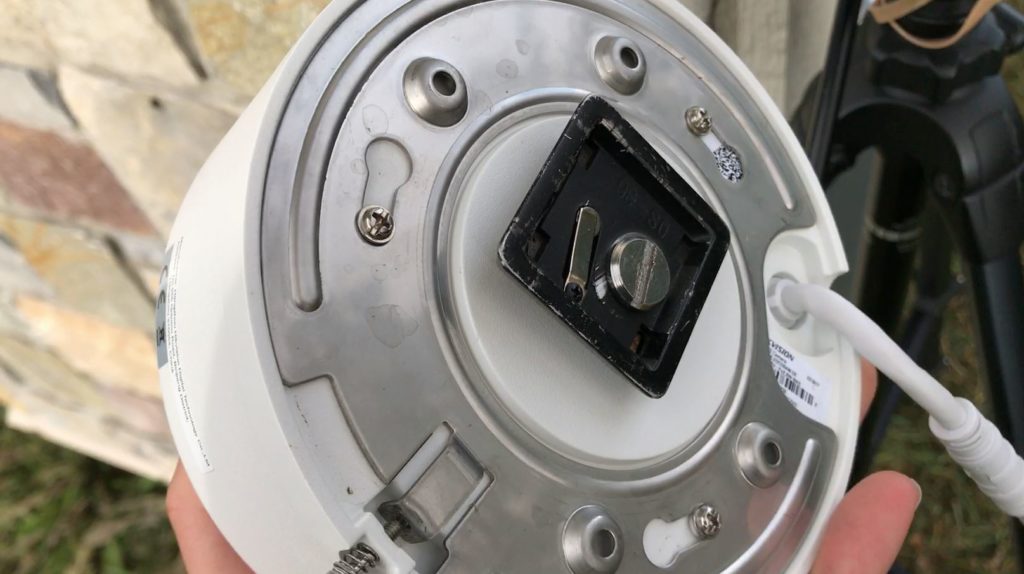
This outdoor camera cost about $150 USD or $200 CAN. One of your purchase options is Chinese cameras available on grey market but may not be upgradable. I never experienced the need to upgrade cameras as the firmware has always been stable and lacked any major bugs. One of the features which attracted me to this 3mp camera was the 4x optical zoom (2.8-12mm) – 105-33.5 degrees. Like most cameras these days, they can be powered using PoE and uses up to 8 watts. You can use a PoE switch or a 2 amp adapter to supply electricity to the unit.


My Purpose for this camera is high location monitoring with the ability to zoom in on a particular subject. You will notice there are no IR lights for night vision. I didn’t want built in IR lights as they would have no effect at a long distances. They will still see in IR lights, so if you need night vision, you can setup a few ir illuminators, or just purchase a security camera with IR lights.

I did look into the auto tracking cameras which follow motion, but the price is too high for my budget. I’m not willing to spend $2000 for a residential camera.
Let’s look at some things I like about this camera at first glance.
Let’s look at some things I don’t like.
On the software side, I no longer use HIK Tools like in my previous videos. I now use the SADP (for IP address management). You now need SADP to activate your camera. It’s a security feature so vendors cannot put setting into your camera before you get it.
Let’s now log into the camera’s web interface. I use Internet Explorer for this. This can be done using the new IP address just assigned to the camera. Some of the first setting I like to charge are the network port numbers. This isn’t required, just something I do to keep things organized. I also change the timezone, camera resolution to 16:9 or 1920*1080p and the frame rate to 4, so my dedicated PC/NVR doesn’t get overwhelmed with so many frames of video to encode and save to disk.
Here on the live view page, you can play with the PTZ feature. To access the control panel, there is a little arror on the slider on the right side of the page. There are settings to make these controllers react slower or faster. This camera will move so low that you can see the casing. Not a big deal, just so u know what to expect. If you are zoomed in, the casing will not be visible.
Let’s talk about setting up patrols where the camera slowly moves around in a predefined sequence.
To setup patrols, you need to set up presets (different angles and zooms) then patrols (where you define the time it takes to go from one preset to another and how long to stay on a present before proceeding the next.) That sounds good but the time it takes to go from one preset to the next was not consistent to my settings in the web interface. I wanted to do a slow scan between preset A and B but sometimes it would be kind of slow but most of the time it was too fast.
Since the camera can supports up to 8 patrols and 32 presets per patrol and 300 presets in total. I guess I could create presents with 1 degree differences and then use the wait time between each to make the camera move slowly. I’m going to set that up in the iVMS 4200 tool as I find it a little more effective than the web interface. When setting up presets here, the results seem consistant, which is weird because the final configurations are the same and saved on the camera. This is not a part of the video above but a very interesting topic. In a future video I will demonstrate this in detail.
After the camera has been setup outside and I’ve been playing with it for a few days, it’s obvious the the daytime and nighttime footage is quite amazing. The daytime colors are vibrant and very clear. At nighttime, the stars and airplanes flying overhead are visible. The low-light image will stay in color well after my other “regular” dome cameras have switched to black and white mode. Unfortunately, the nighttime noise reduction only works when image is stopped. This means, if the camera is in motion, the picture will not clear up and have any imperfections removed until the camera stops moving.
I’ll be creating additional videos on this camera including an indoor and outdoor detailed comparison with a standard dome camera and how it functions with a dedicated IR illuminator.