Hey Guys, today I have 2 bits of exciting news to share with you.
#1 – I just started a brand-new blog at newfiebort.com. This will allow me to share more information including pictures of the products I’m reviewing, video transcript summaries, links to products, out-takes from this channel and whatever else I can think of.
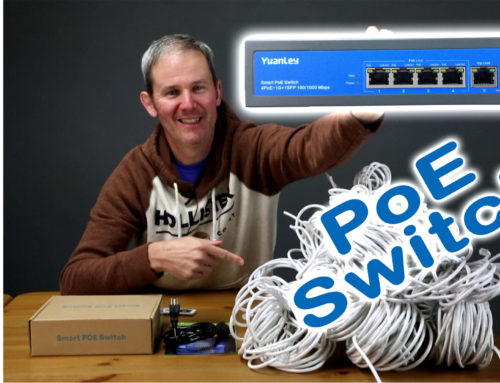
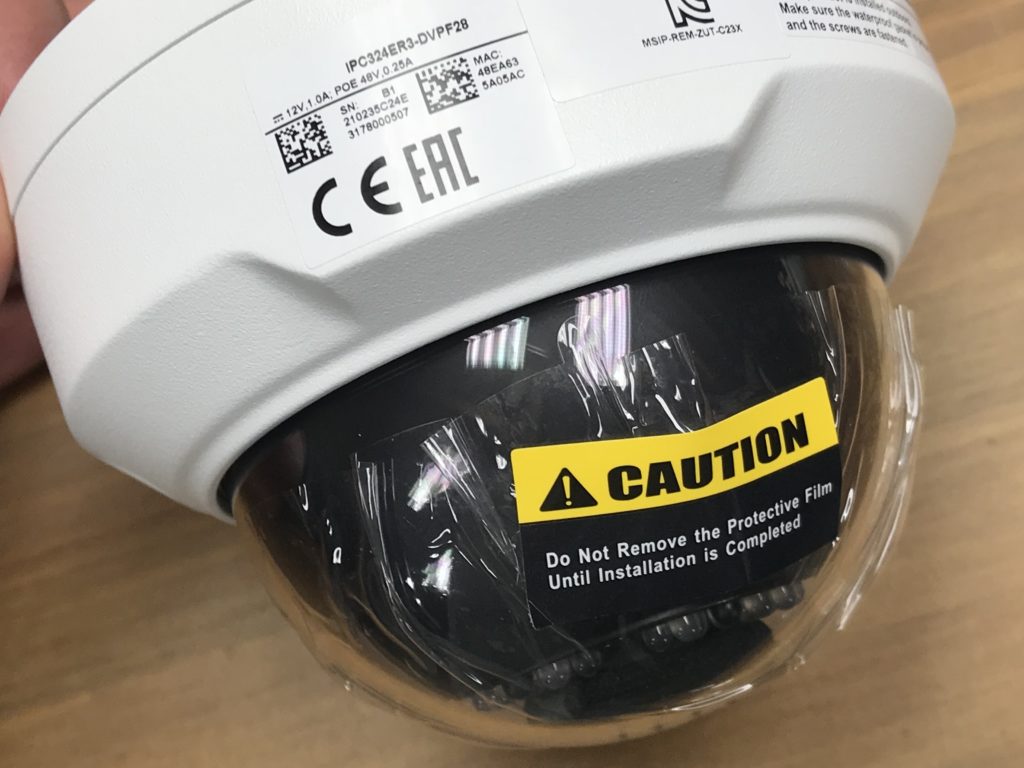
#2 – Move over Hikvision – I’m unboxing and reviewing a brand-new dome camera today from Unitech and now known as WGCC. I’m branching out and expanding my brand knowledge to see what else is available out there. This 4mp dome camera is on $80 US on Amazon and has some pretty awesome reviews. Let’s take a closer look.

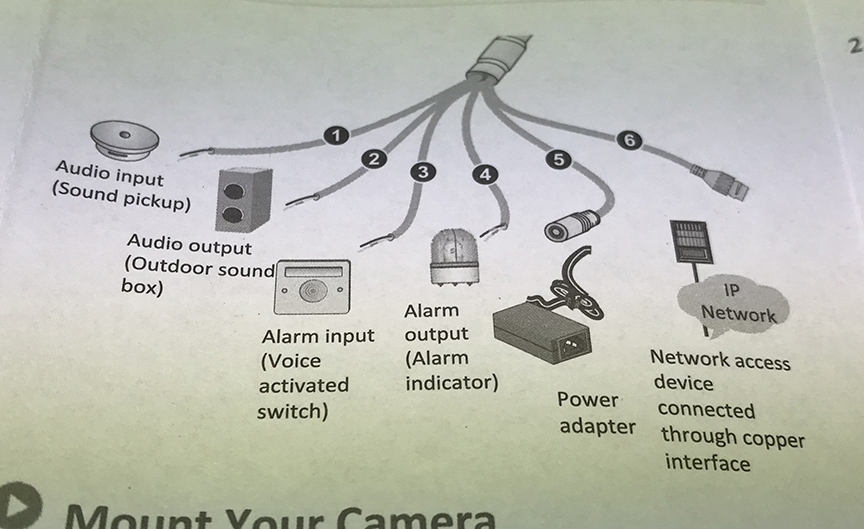
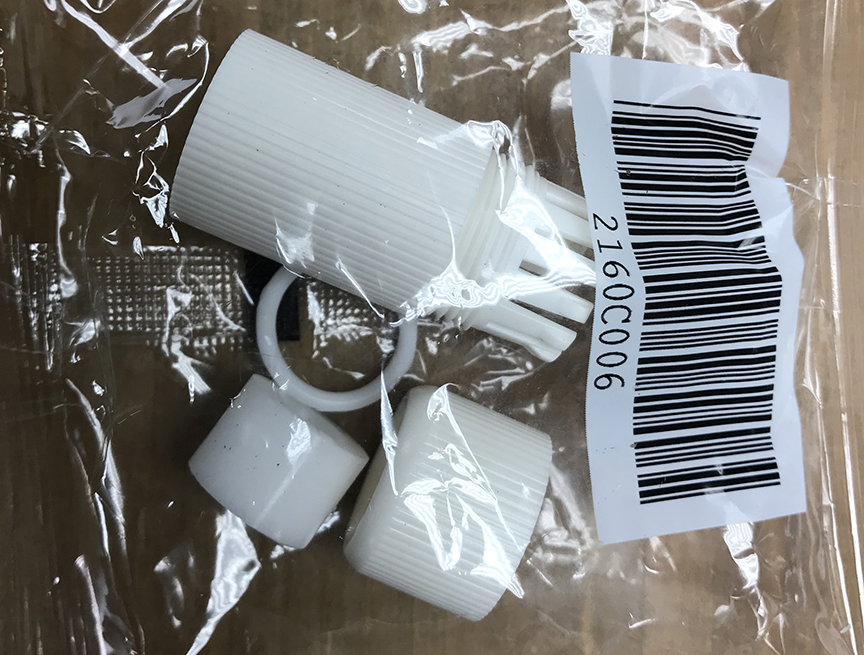
I looked on AliExpress for this camera, but it is not sold there. I could not find any evidence of a grey market for this camera. Here’s what’s in the box:


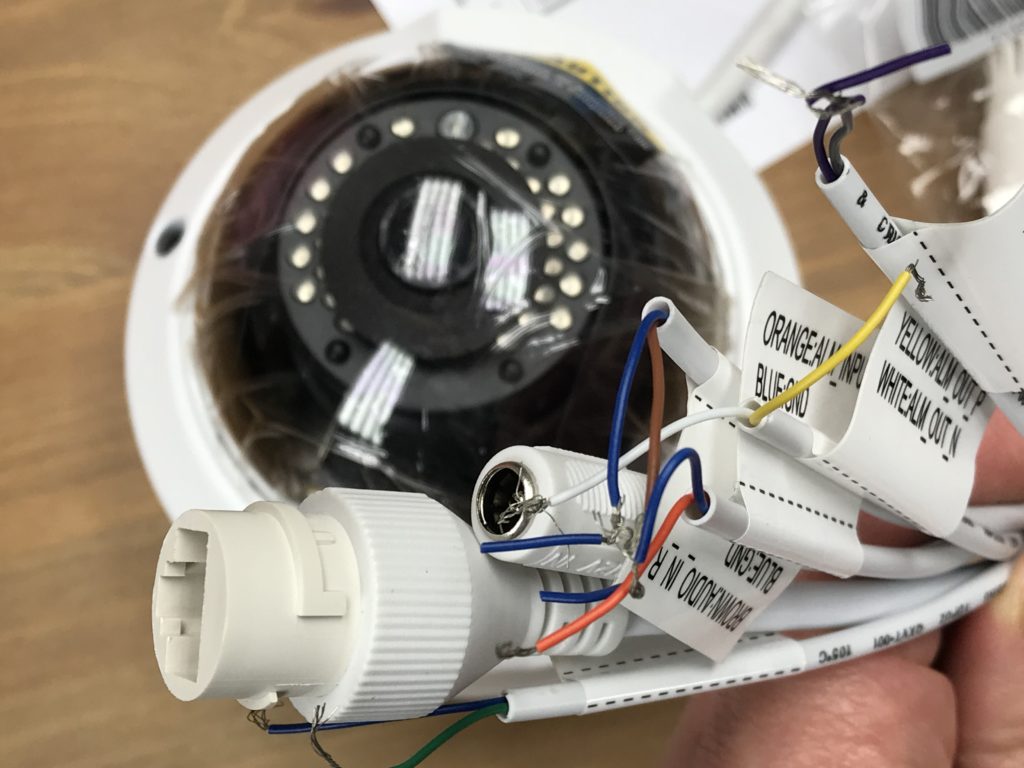
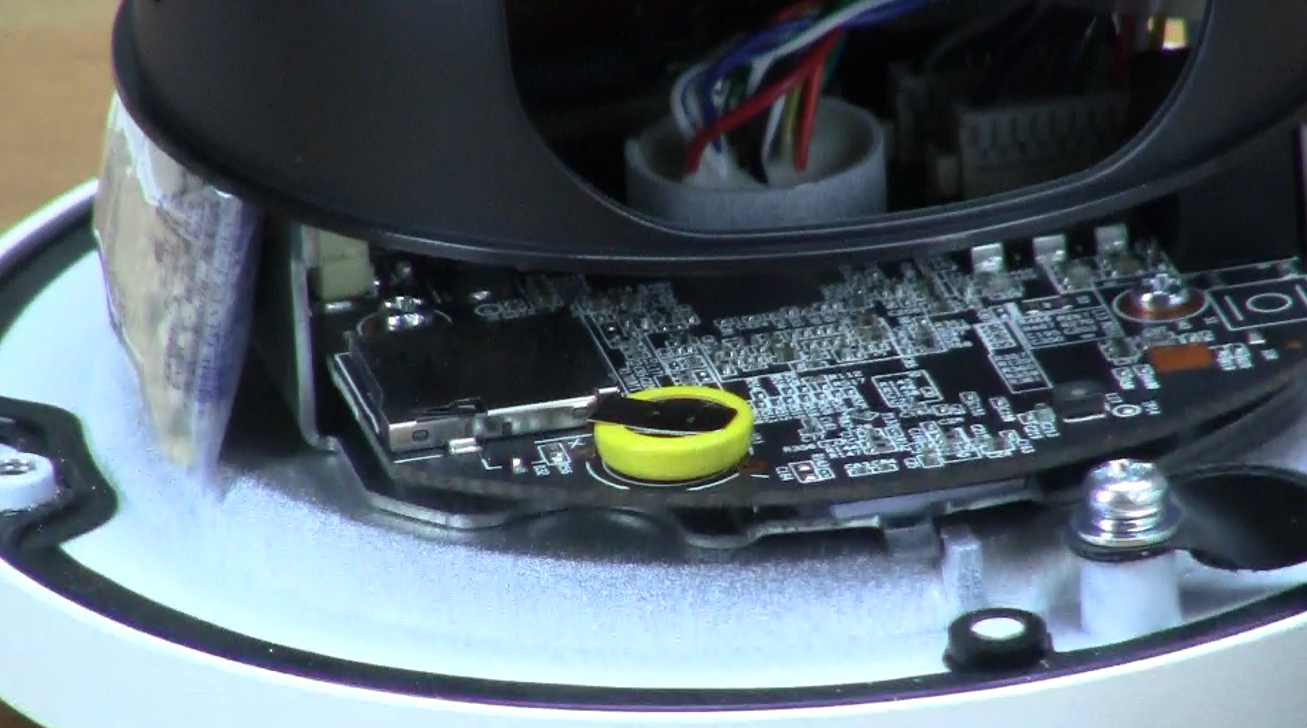
Let’s open the camera’s dome and see what’s inside and identify the Card slot and Reset Button. There is no reset button in this case, but the factory reset can be do though the web user interface.
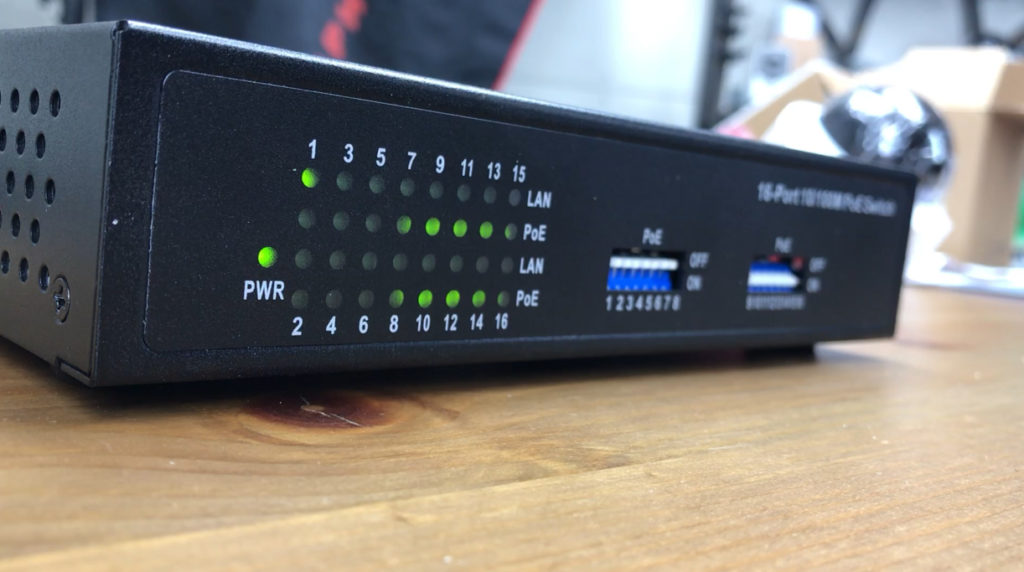
Let’s plug this into the network and get it setup before we take it outside. I’ll plug it into my PoE Switch which is plugged into my router.
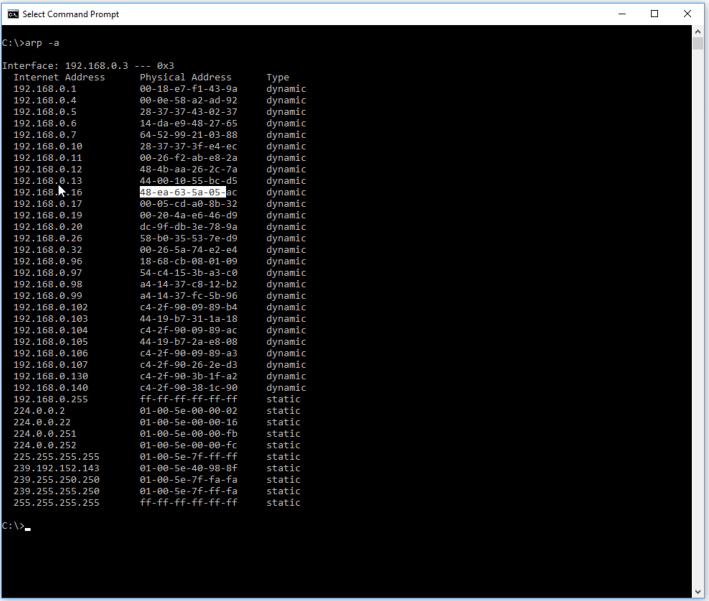
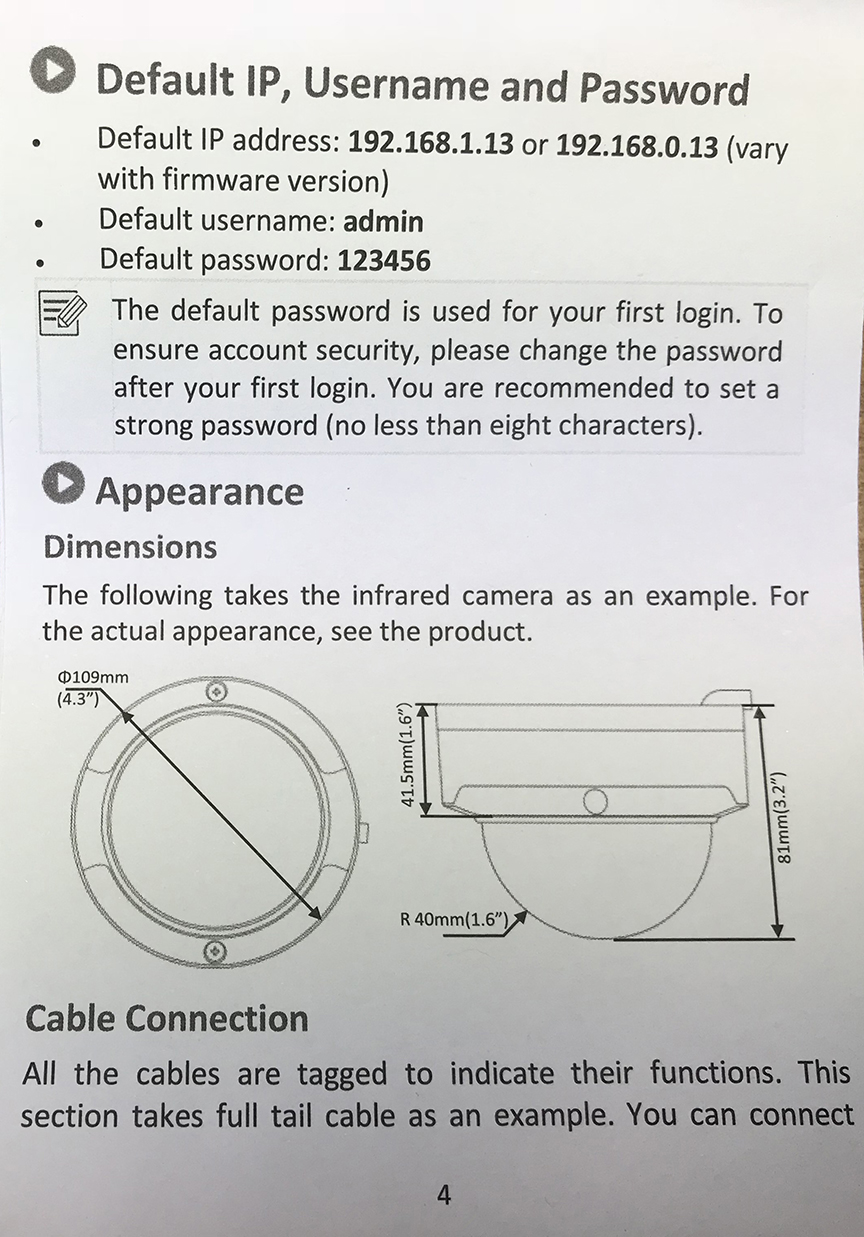
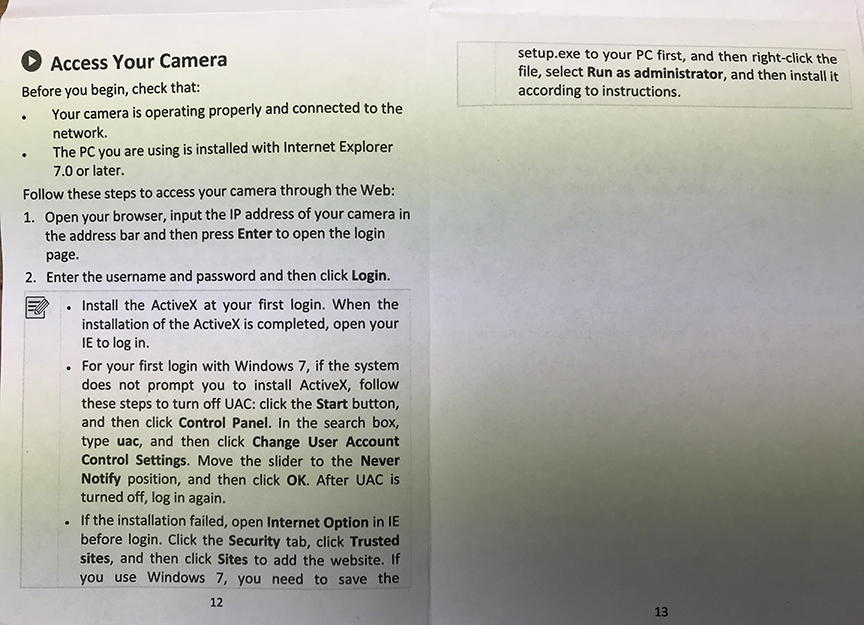
The quick start up guide indicates an IP address of either 192.168.0.13 or 192.168.1.13.
Open Internet Explorer and navigate to each of these. In my case, neither of these IP addresses brought me to the camera’s login page. I think another device has claimed that IP address. to solve the problem, open the MS-DOS command, arp -a. This shows a list of devices on your network, including their MAC address. Your camera’s MAC address is written on the side of the camera. Use this to match your IP address.
Back in IE, use the correct IP address and once the login page appears, use the default credentials to access the web user interface. The user name is admin and the password is 123456. Upon login you will be asked to install a plugin so the browser can access the camera’s video feed. A message on the top of the page encourages you to change your password. After doing this, you will need to login again with the new credentials.
To change the IP address, go to the Network page and select the Newtork option. On the Ethernet tab, select Static and update the IP address and possibly the Default gateway. I updated mine to 192.168.0.120 and 192.168.0.1, which is the IP address of my router. Once saved, you will need to log back in using the new IP address. Once back into the Setup page, I updated my Ports to keep inline with the other cameras on my network.
Now that everything is tested and the live feed works, let’s take the camera outside it install it and test the daytime and nighttime footage.
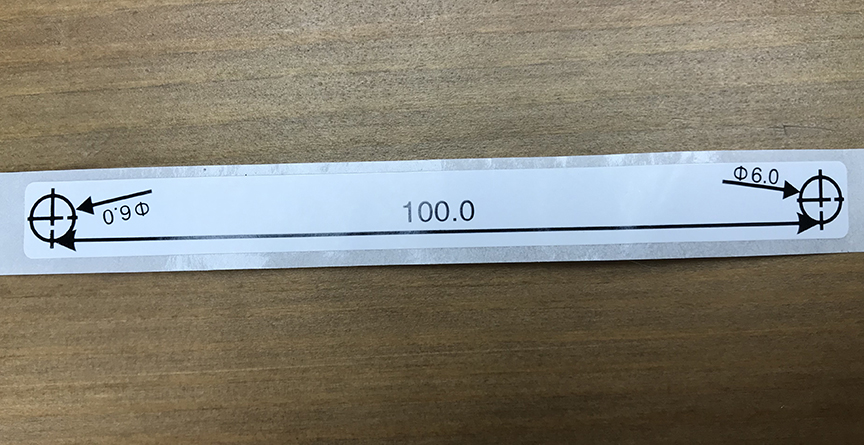
There is no access to space under my eave from the inside, so I will need to drill a pilot hole. When doing this, I’ll push up on the soffit so when I feed the wire through it will be on the inside of the eave.
Soffit can be a challenge to drill into with a 1-inch bit. To avoid making a mess you might want to start the hole with a drill and tidy it up with some snips.
I used an old wire coat hanger bend on one end to fish the wire out from within my eave. It took about 10 minutes to find it and get it out.
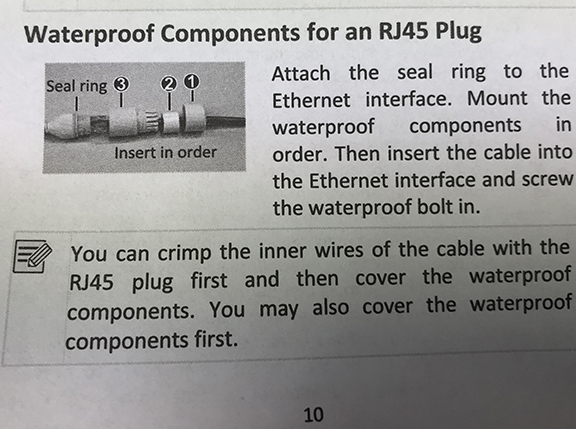
I quickly terminate the Cat6 cable, connect the camera and secure the weatherproof seal on the RJ-45 plug.
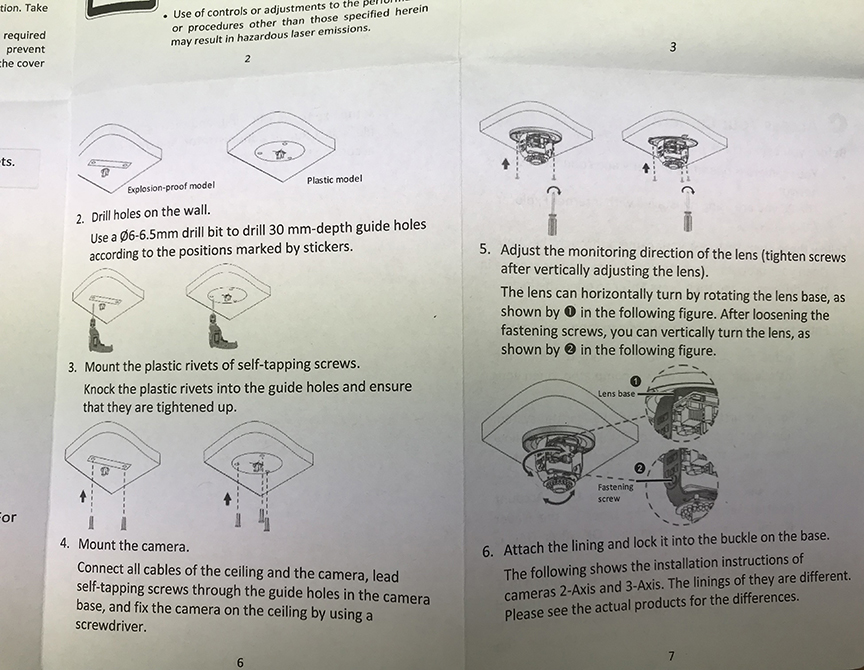
Now that the wires are all fed inside the soffit, I’ll use 2 of my own screws to attach the camera. Using 3 screws would have been more secure. I don’t want to remove and damage the soffit to install braces, so a 2-screw install is my only option.
Loosening the screws on the sides on the camera will allow you to adjust the up and down point of view of this camera. I have my laptop here on the ground so I can see exactly what area I will be capturing.
Once you are happy with the angle, secure the dome cover good and tight. I’ll give the camera a little shake here and it’s pretty secure.
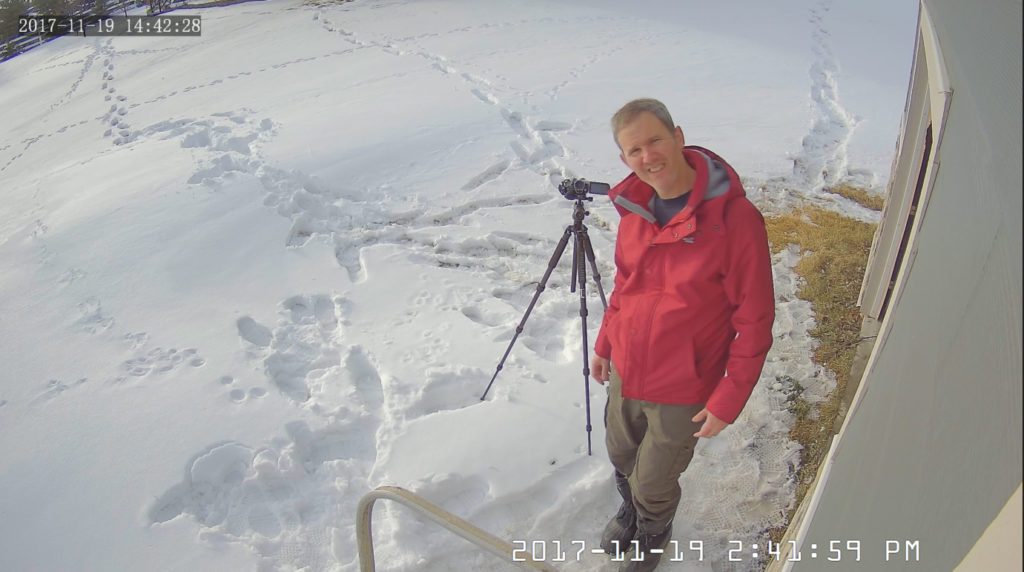
Here is a look at some daytime footage. The quality awesome and I’d be happy to use these cameras for other locations around my property. You can easily recognize faces and exactly what I’m doing.
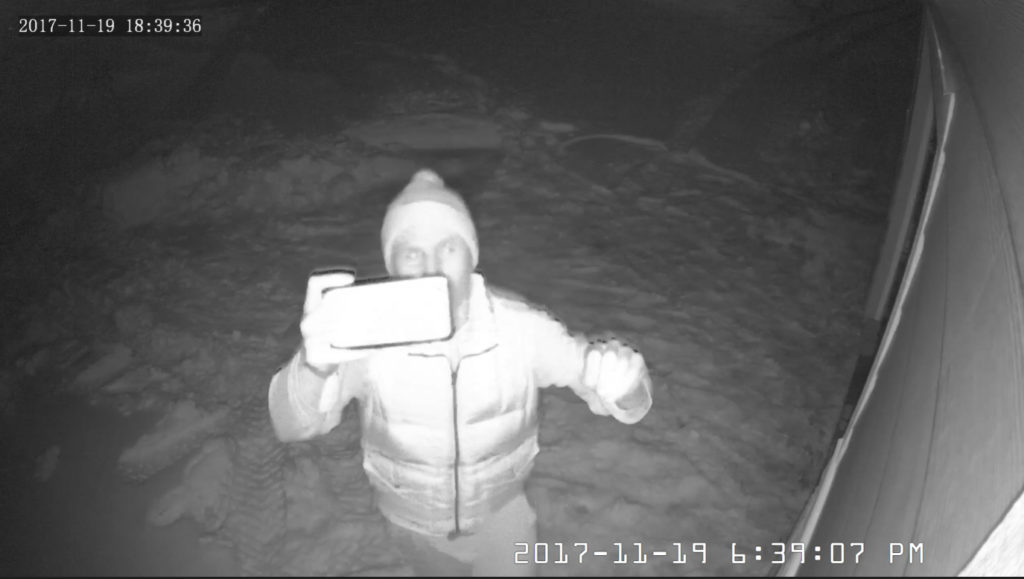
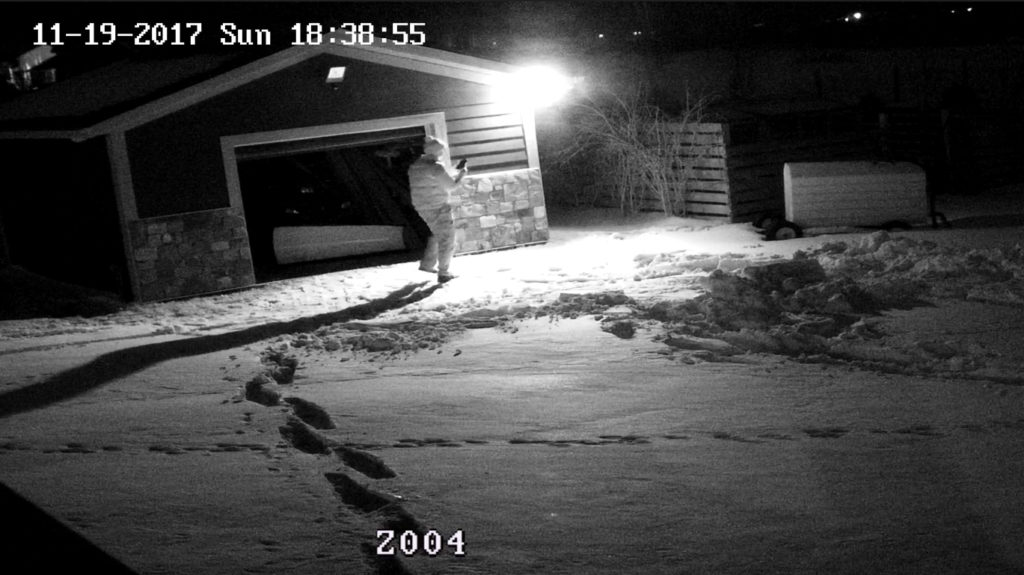
I have my Mini PTZ camera setup to see what the output of IR light looks like from a distance. Those LEDs may be small, but they sure put out a lot of light… very impressive. Let’s look at the footage from the Unitech cam.
Not bad for an $80 camera in total darkness. There are a few tracers but you can easily see what’s I’m up to. I might be able to up the quality a little in my settings, which I’ll share in another video when I get into that level of detail.
This camera has a ton of features I want to experiment with in other videos. I love the daytime footage of the 2.8mm lens. The nighttime video is also good. The web user interface has a tiny lag, but the video seems to be instant, which is the important part. I like the layout of the web user interface and how you can access the same features through multiple menus. Definitely worth the $80. In an upcoming video, I’ll be hooking up this camera to blue iris so I can record footage continuously and when motion is detected.
That covers my unboxing, setup and review of this Unitech security camera. Thanks for taking the time to visit this blog and read my initial thoughts.
Product links: